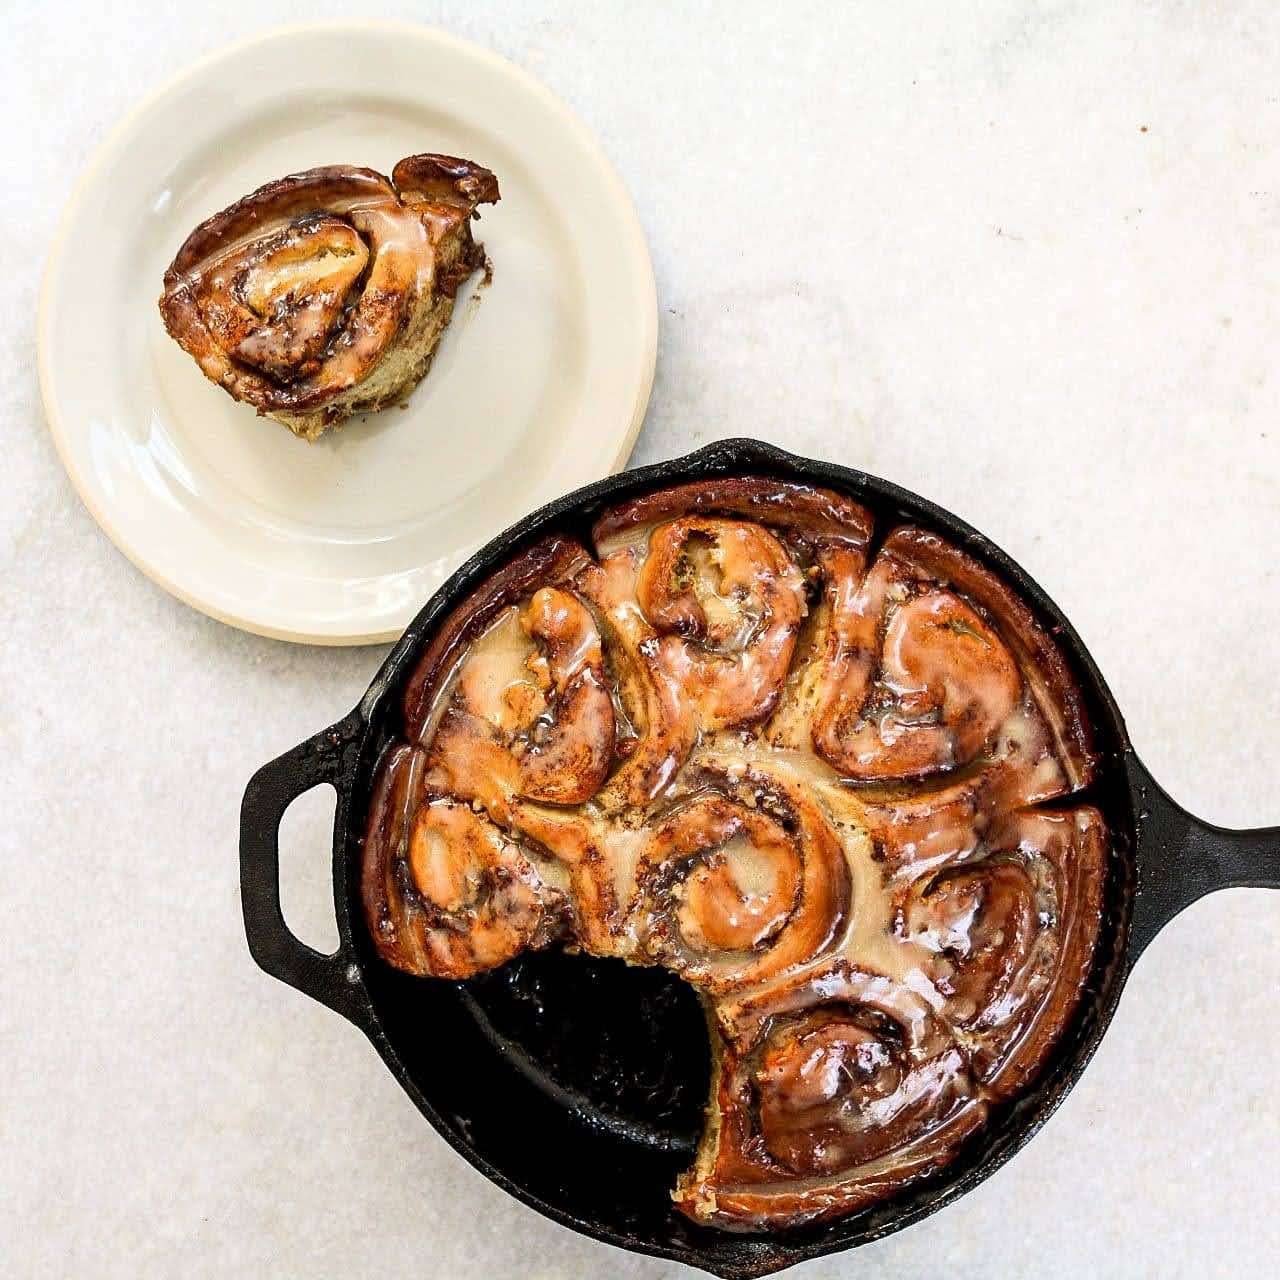
Here is my take on the humble yet delicious Cinnamon Bun. Baked in a cast Iron Skillet for extra crispy edges, and filled with chopped pecans and cinnamon maple butter, these sticky buns are a real treat.
I recently bought myself a decent cast iron skillet, (they can be quite pricey but they should last a life time), and I have to say it’s my new favourite piece in the kitchen. They retain heat unlike any other pans or dishes which really enhances the rise of baked goods, especially yeasted products.
The dough for these buns is made with buttermilk (or a home-made milk-vinegar concoction) which amplifies the softness throughout. The first prove of the dough is carried out overnight in the fridge, which helps with shaping the rolls and keeping distinct swirls, as well as adding depth of flavour to the dough. So make sure to begin the process the day before you’re wanting to eat these for the best results.
You will need a lid for your skillet when it comes to baking, so make sure you have one to hand that fits nicely. If the lid is too small, it may stick to the surface of the buns
Ingredients (makes 8 buns)
- 250ml Buttermilk (if you don’t have use 250ml whole milk + 2 Tbsp white wine vinegar)
- 100g melted Butter
- 1 Egg
- 1 x 7g sachet active dried Yeast
- 50g caster Sugar
- 1 Tbsp Vanilla Extract
- 400g Plain Flour
- 1 Tsp Salt
- 1⁄2 Tsp Bicarbonate of Soda
- 1 Tsp ground Cinnamon
For the Cinnamon Maple Butter
- 120g softened Butter
- 1 Tbsp ground Cinnamon
- 1 Tsp Salt
- 3 Tbsp Demerara Sugar
- 80g chopped Pecans
- Extra butter for greasing
For the Maple Vanilla Glaze
- 100g Icing Sugar
- 1 Tbsp Maple Syrup
- 1 Tsp Vanilla Extract
- 1 Tbsp melted Butter
Method
Do this section the night before.
Begin by combining the Buttermilk, melted Butter, Egg, Vanilla and Yeast in a jug.
In the bowl of a stand mixer, combine the Sugar, Plain Flour, Salt, Bicarb and Cinnamon.
Whisk to combine all of the dry ingredients and get rid of any clumps of flour.
Using a dough hook attachment, begin to mix on slow, whilst streaming in the wet mixture slowly.
Once all of the wet mixture is incorporated into the dry, turn up the speed on the mixer to medium and allow to knead for 5 minutes.
The kneaded dough should appear smooth and glossy. The dough is quite wet for this recipe so resist the urge to add more flour.
Transfer the dough to an oiled bowl, cover with cling film and leave to prove in the fridge overnight.
The following morning, begin by preparing the butter filling.
Add all of the ingredients, minus the chopped pecans, to a mixing bowl and beat using a paddle attachment or spatula until light and fluffy and smooth (around 3 minutes).
Take the rested dough from the fridge. The dough should have risen and become filled with small air bubbles throughout.
Knock back the dough by gently kneading it for a few seconds on a worktop. You will notice how the dough is now more solid and easy to handle.
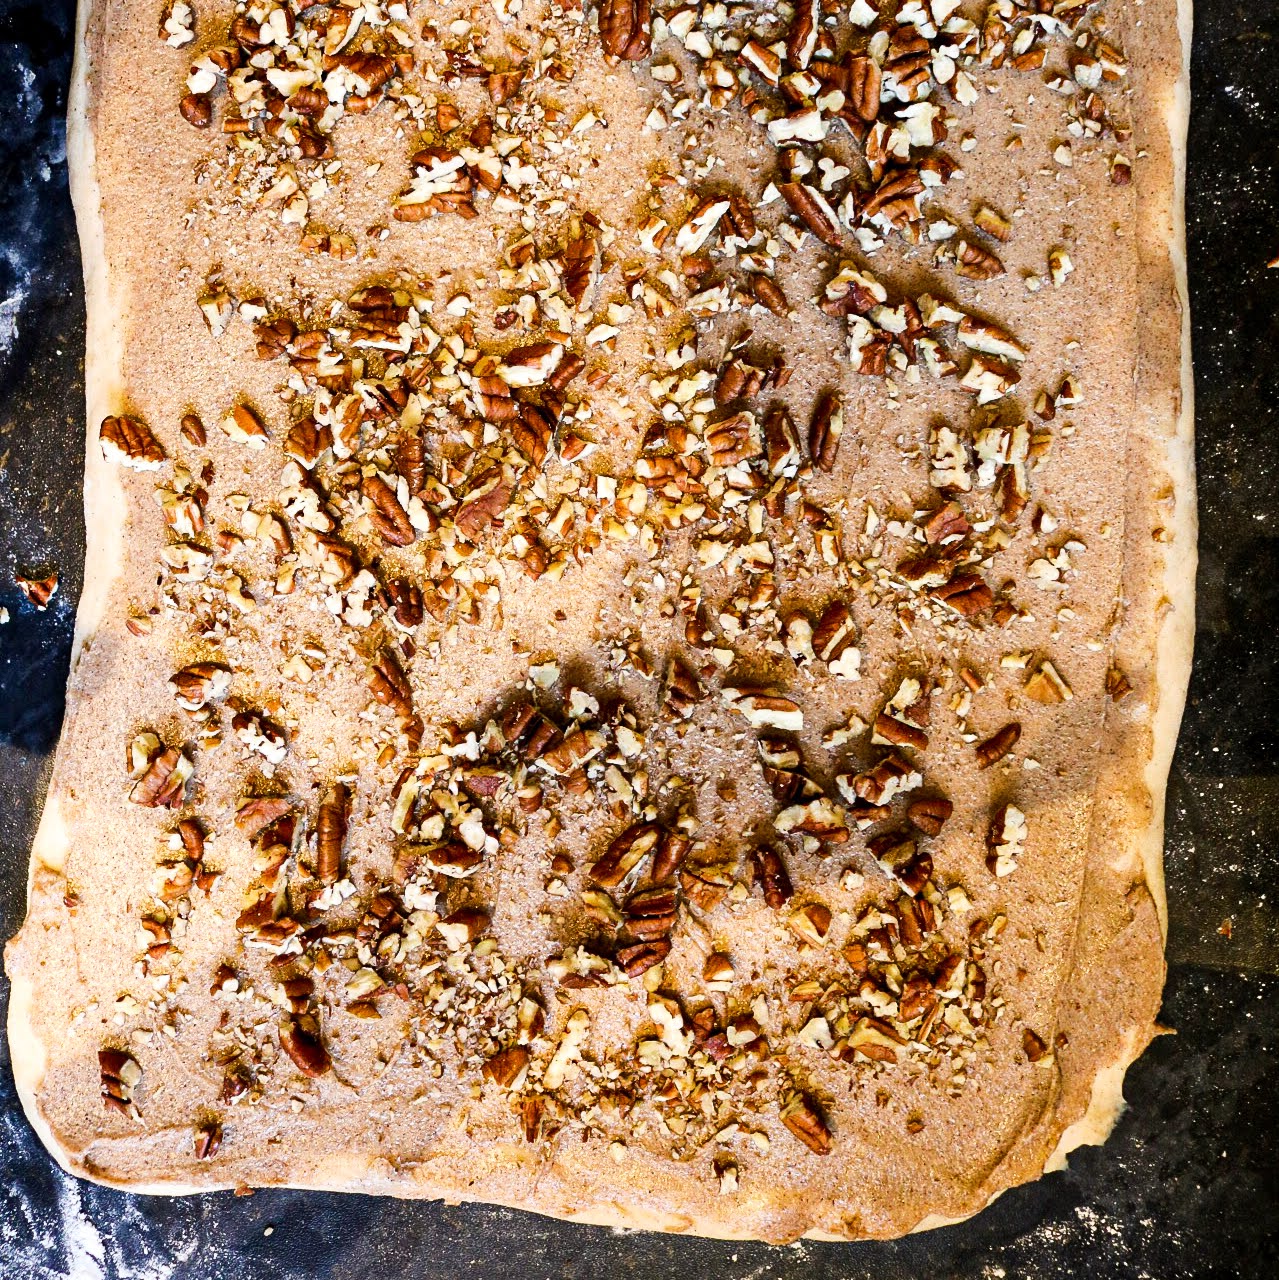
Lightly flour a work top and begin to roll out the dough. You want to create a rectangle roughly 30x20cm long.
Spread all of the Butter mixture over the entirety of the rolled out dough using a pallet knife. Ensure to spread right into all of the corners.
Sprinkle the chopped Pecans evenly over the top.
Begin to roll up the dough, from the long side, into a tight coil, like you would a swiss roll. Roll all the way to the end and place the log on the worktop seam side down.
Using a sharp serrated knife, Portion the log into eight equal pieces. These will be your buns.
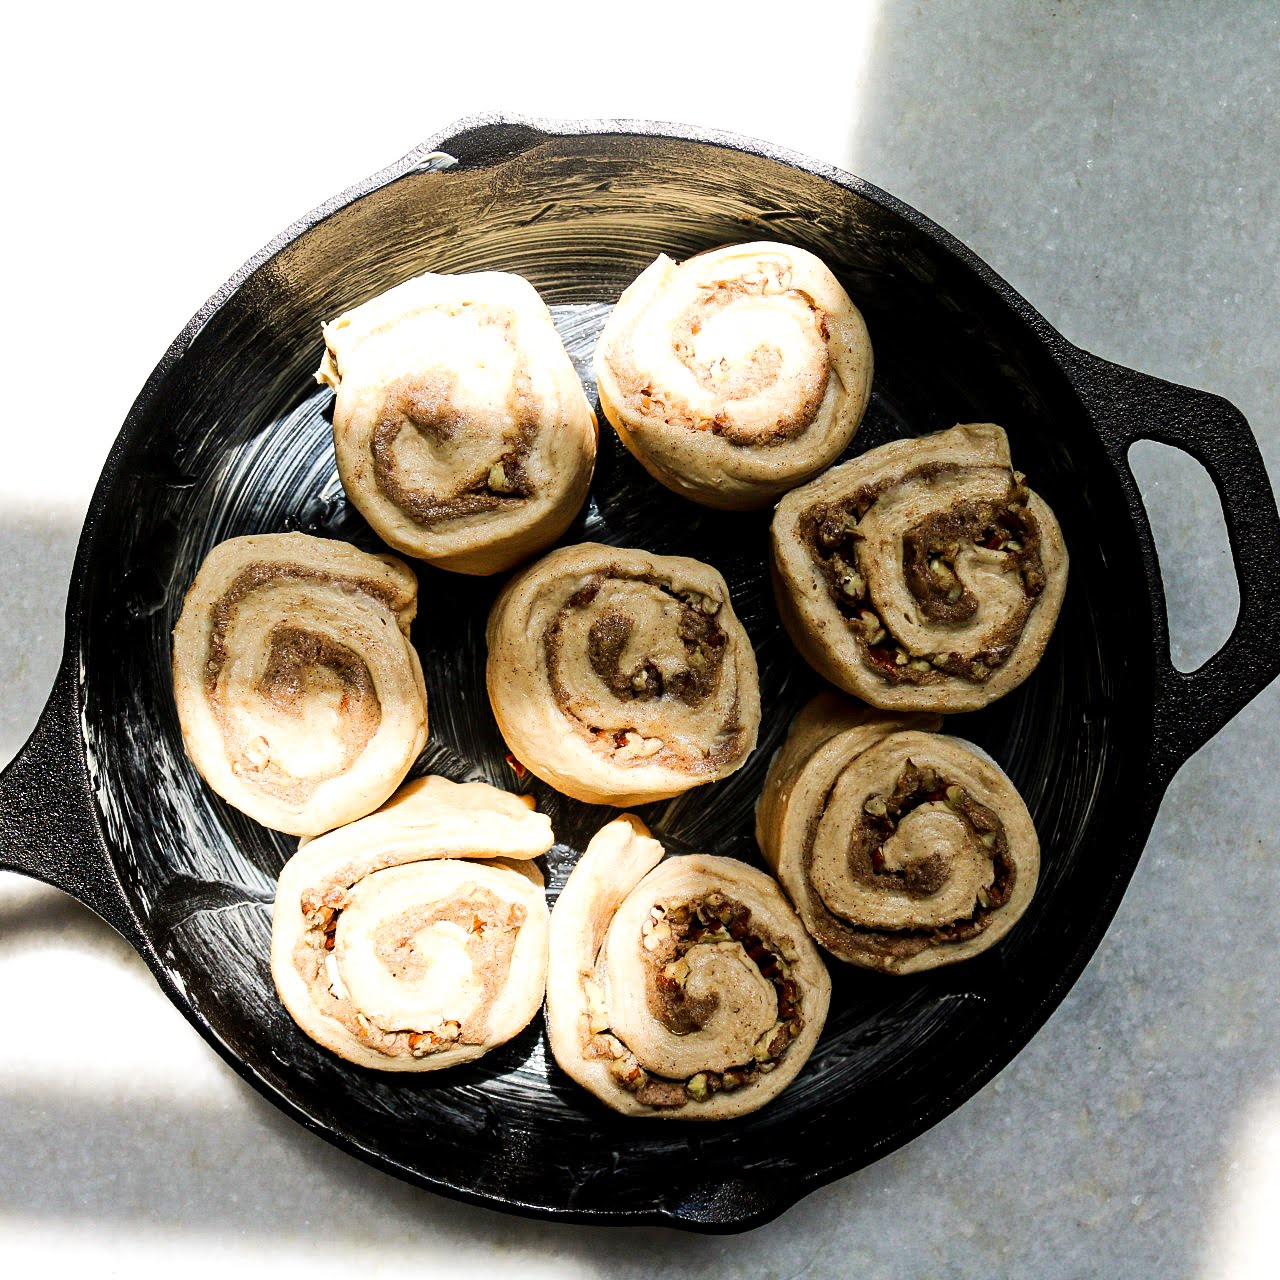
Brush softened butter all over the bottom and sides of your skillet generously.
Position the buns into the skillet, 7 around the edges and 1 in the center. Be sure to leave a little room for rising between each one.
Cover with cling-film or a clean tea towel and leave at room temperature to rise for around 90 minutes (or until increased inside and appear pillowy, and spring back when pressed lightly).
Preheat the oven to 180 degrees celsius.
Place the lid over your skillet and place in the center of the oven.
Bake with the lid on for 20 minutes. This will produce steam to make the buns puff up and be extra light and fluffy inside.
After this time, remove the lid (be careful to make sure the lid isn’t stuck to any of the buns, if this is the case, gently pry the dough away using a pallet knife). Return to the oven and continue to bake, lid off, for a further 20 minutes.
Whilst the buns are baking, prepare the glaze.
Simply whisk together all the ingredients in a small bowl, whisk until smooth and lump free.
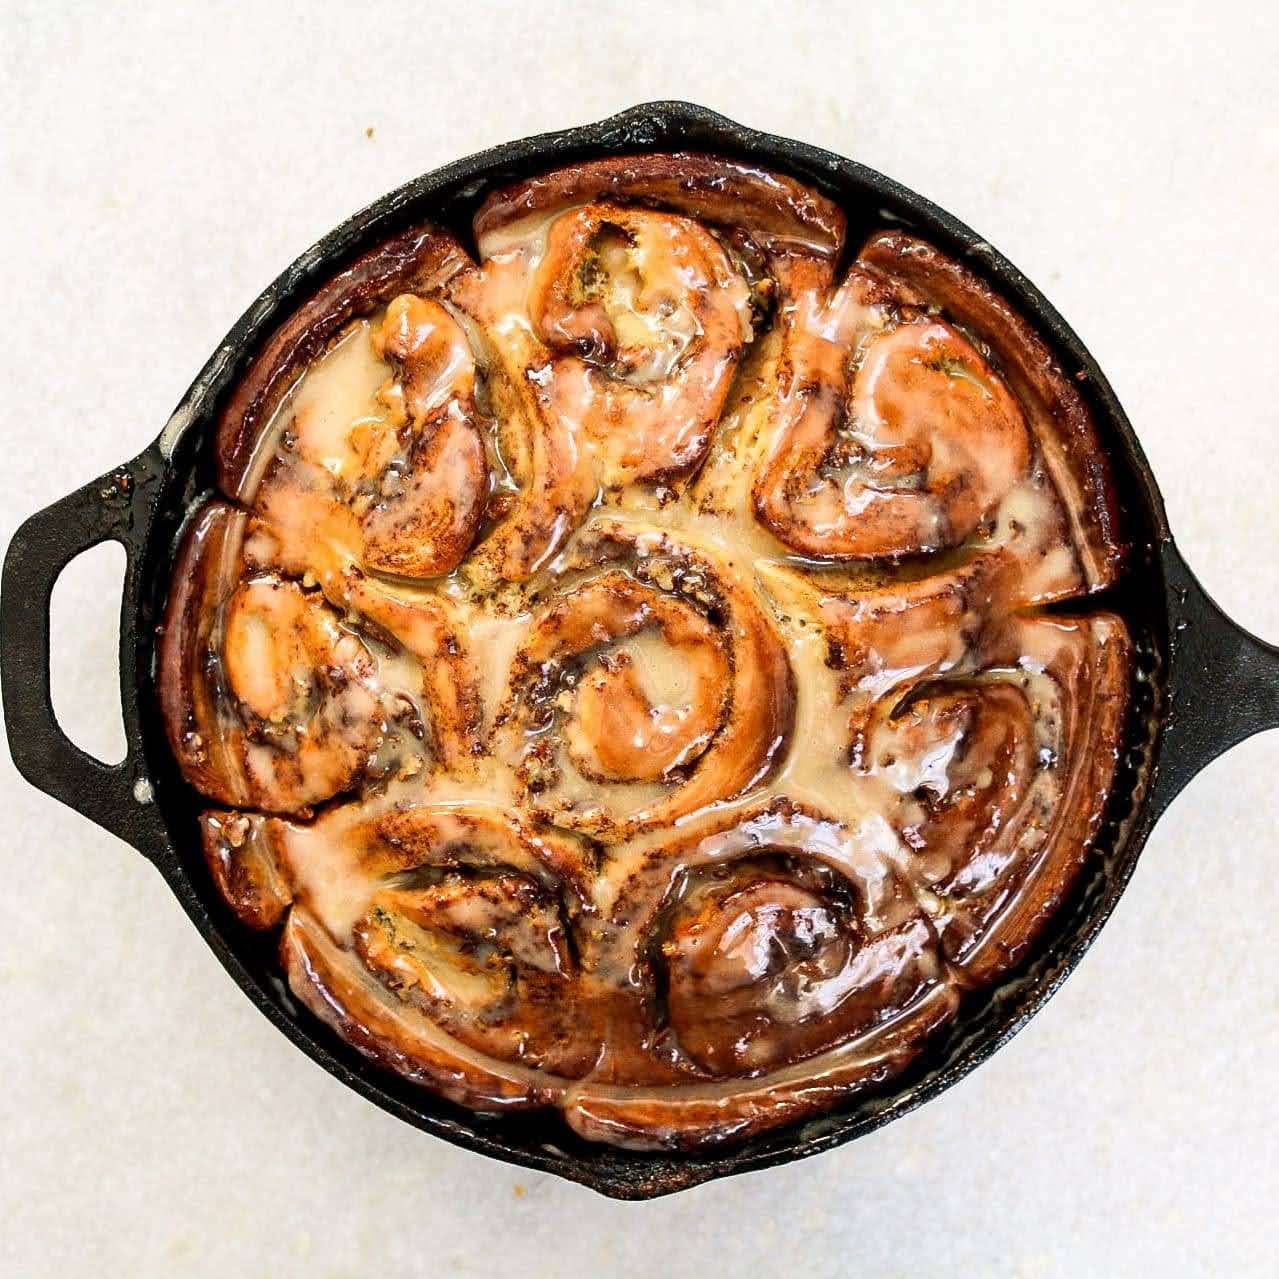
Remove the skillet from the oven and brush all of the glaze over the buns. This may seem like a lot, but the glaze soaks into all of the gaps and really helps with the flavour and sweetness.
I would recommend serving whilst they’re fresh from the oven, but if not then these will be good for around 3 days if kept chilled and tightly wrapped. I like to heat them up again in the microwave for 30 seconds and they taste super fresh again.
Enjoy!